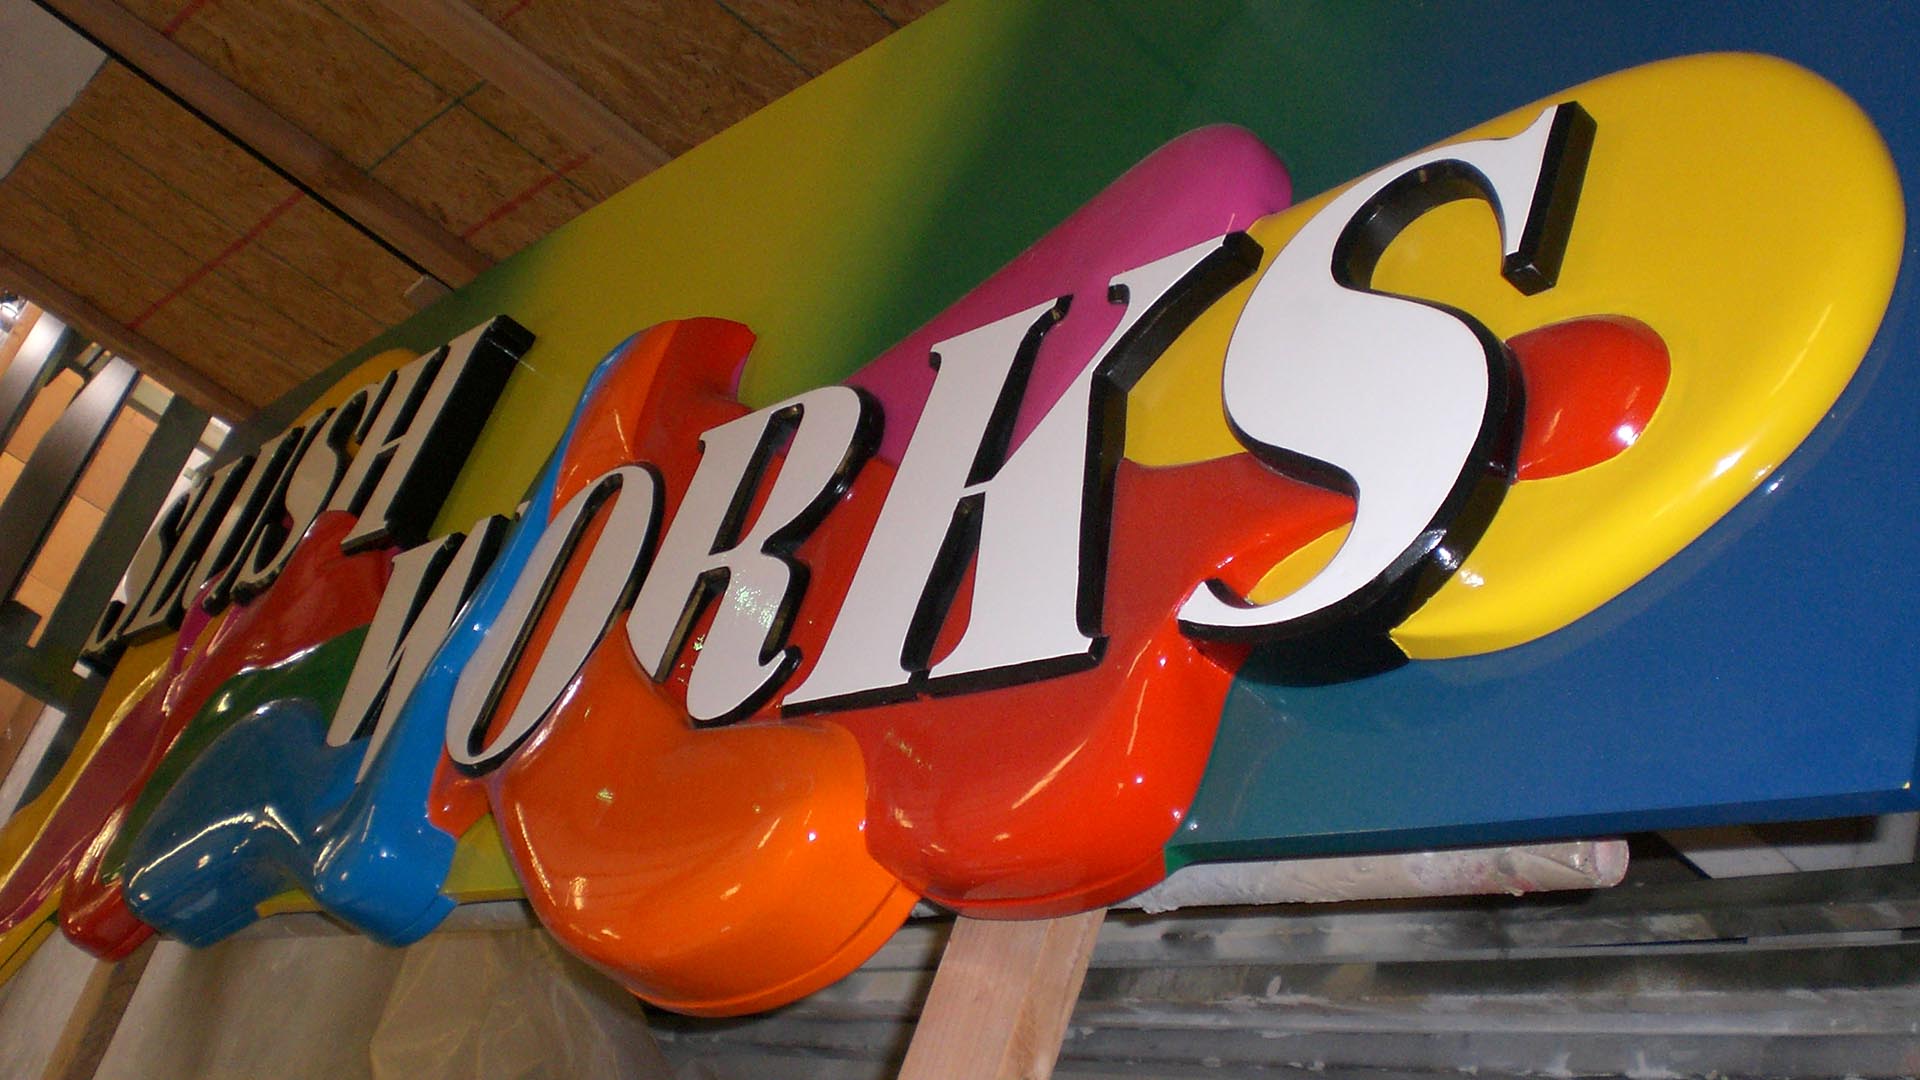
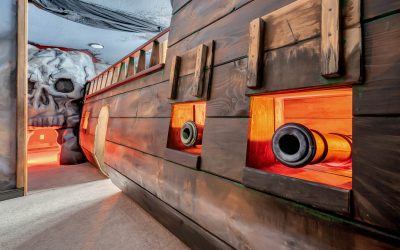
Creative Fiberglass: Masters of Sculptures and Props
Fiberglass. The very word evokes images of everything from sleek Corvette bodies and oceanic boat hulls to the otherworldly armor of a superhero and the terrifying visage of a movie monster. It is a material of immense possibility, bridging the gap between the fragile worlds of imagination, sculpted form, and the durable demands of the real world. To the uninitiated, it can seem like a dark art—a messy, noxious, and unforgiving process. But to the professional fabricator, the dedicated prop maker, or the ambitious sculptor, it is a symphony of precise steps, a dance between chemistry and craftsmanship that transforms ephemeral ideas into tangible, resilient reality.
This guide is not a casual DIY primer. It is a deep dive into the correct and efficient methodology of fiberglassing from a professional viewpoint. We will move beyond simply “making it work” and focus on the principles that ensure a flawless, strong, and professional finish every time. We will explore the entire lifecycle of a project, from the initial plug to the final painted surface, citing specific applications in sculpture, props, and custom fabrication to ground every technique in practical reality.
Part 1: The Philosophy – Mindset Before Materials
Before you ever don a respirator or mix a drop of resin, you must adopt the correct mindset. Efficiency in fiberglassing isn’t about speed; it’s about precision, preparation, and predictability. A professional understands that every minute spent in meticulous preparation saves an hour of arduous correction later.
- The Infallible Rule: Preparation is 90% of the Work. A perfect lamination over a flawed preparation will yield a flawed part. A mediocre lamination over a perfect preparation can often be salvaged and finished to perfection.
- Respect Chemistry. Polyester and epoxy resins are not magical goo; they are precise chemical reactions. Temperature, humidity, and catalyst ratios are not suggestions—they are laws. Learn them, respect them, and they will work for you.
- Safety is Non-Negotiable. This is not a realm for bravado. The components used are hazardous. Ventilation, respirators with organic vapor cartridges, nitrile gloves, and protective clothing are your mandatory uniform. Efficiency means going home healthy at the end of the day, every day.
- Plan the Lamination Schedule. A professional never just “starts adding fiberglass.” They have a pre-determined plan: the number of layers, their orientation, the type of cloth or mat to be used, and the sequence of application. This is the blueprint for strength and efficiency.
Part 2: The Arsenal – Tools and Materials of the Trade
Using the right tool for the job is the cornerstone of efficiency. A professional’s workshop is equipped with purpose-driven instruments.
- Core Materials:
- Reinforcements (The “Fiber”):
- Chopped Strand Mat (CSM): A non-woven mat of randomly oriented short fibers held together with a binder. It is thirsty, thickens the laminate quickly, and is excellent for building core thickness and providing good secondary bonding between layers of cloth. It does not drape well over complex curves. Common weights: 1.5 oz/sq ft, 2 oz/sq ft.
- Woven Roving: A heavy, coarse fabric made of continuous fibers in a basket-weave pattern. It is used for rapid buildup of extreme thickness and strength, common in boat hulls. It is difficult to wet out completely and can show print-through if not properly covered.
- Cloth (Plain Weave, Twill, etc.): The workhorse of professional finishing. Made of finer, continuous filaments in an over-and-under weave. It is strong, drapes beautifully over complex shapes, and sands to a smooth finish. It is the primary structural skin for most props and sculptures. Common weights: 6 oz/sq yd, 10 oz/sq yd.
- Biaxial and Triaxial Fabrics: Non-woven stitched fabrics with fibers oriented in specific directions (e.g., 0/90°, +/- 45°). They provide immense, directional strength without the crimp of a weave, which can be a point of weakness. Used in high-performance composites.
- Core Materials: For creating rigid, lightweight sandwich panels. End-Grain Balsa, PVC Foams (e.g., Divinycell, Airex), and Polyurethane Foams. The laminate skins bond to the core, creating a structure of immense stiffness-to-weight ratio—essential for large sculptures or structural props.
- Resins (The “Glass”):
- Polyester Resin (Laminating Resin): The most common and cost-effective choice for large projects like sculptures and boat hulls. It is viscous, cures hard and relatively brittle, and has a strong, characteristic smell (styrene). It features a wax additive that rises to the surface during curing to seal it from air, allowing it to fully cure. Sanding resin has this wax pre-added; laminating resin does not, which is crucial for multi-layer layups. It is not UV stable and will degrade and yellow if not protected with a gel coat or paint.
- Epoxy Resin: The professional’s choice for high-strength, critical applications. It is stronger, more durable, and has superior adhesion to a wider range of materials than polyester. It produces much less odor and is not air-inhibited (it cures fully without a wax additive). It is more expensive, has a longer cure time (which can be an advantage for complex layups), and requires meticulous mixing ratios. Epoxy is the standard for aerospace, high-performance automotive, and top-tier prop and sculpture studios.
- Vinyl Ester Resin: A hybrid with properties between polyester and epoxy. It offers better chemical and water resistance than polyester, making it ideal for marine environments. It is more expensive than polyester but often cheaper than epoxy.
- Catalysts & Hardeners:
- MEKP (Methyl Ethyl Ketone Peroxide): The catalyst for polyester resin. The amount used, typically 1-2%, directly controls the gel and cure time, which is highly sensitive to temperature.
- Polyamine/Polymide Hardeners: The curing agents for epoxy resin, supplied as a Part B. Mixing ratios are absolutely critical (e.g., 2:1, 1:1 by volume or weight) and must be followed exactly.
- Essential Tools:
- Respirator: A dual-cartridge respirator with organic vapor/P100 cartridges.
- Mixing Cups: Graduated plastic cups for accurate measuring.
- Stir Sticks: Wooden paint stirrers or plastic spatulas.
- Brushes: Cheap, disposable chip brushes in various widths (1″, 2″, 4″). Their purpose is to be sacrificed.
- Rollers: Laminating rollers (metal or plastic spiral rollers) are indispensable. They are used to compact the laminate, roll out air bubbles, and ensure complete resin saturation.
- Scales: A digital gram scale is essential for accurate epoxy mixing.
- Scissors & Shears: Sharp, dedicated scissors for cutting fiberglass.
- Grinders & Sanders: Angle grinders with flap discs for rough shaping, random orbital sanders for finishing.
- Jigsaw & Oscillating Tool: For trimming cured fiberglass.
- Ventilation: A spray booth, fan-forced extraction, or working in a well-ventilated, open space.
Part 3: The Process – A Step-by-Step Master Class
The following process assumes you are creating a part from a mold—the most common professional application. The same principles apply to direct layups over a permanent substrate.
Phase 1: The Foundation – Creating the Perfect Plug
The plug is the positive, master pattern of your final object. Its perfection dictates the perfection of every part pulled from the subsequent mold.
- Project Example: A Hero Prop Sci-Fi Rifle. The plug is the fully detailed, perfectly smooth master of the rifle, carved from high-density urethane foam, assembled from 3D prints, or sculpted in clay over an armature. Every scratch, every imperfection, every wavy surface will be faithfully reproduced in the mold and every part cast from it.
- Process:
- Construction: Build your plug using stable, non-porous materials. MDF, tooling board, sculpting foam, clay, or finished 3D prints are common.
- Sealing & Priming: The plug must be perfectly sealed. For porous materials, use a high-build primer or an epoxy sealer. Sand, fill, and repeat until the surface is glass-smooth.
- Blocking & Polishing: Apply multiple coats of a gloss paint or a specialized tooling gel coat. Wet sand through progressively finer grits (400, 600, 800, 1000, 1500) and then polish to a high-gloss mirror finish. This high-gloss surface ensures easy mold release.
Phase 2: The Negative – Making the Master Mold
The mold is the heart of professional production. A well-made mold is a durable, reusable asset.
- Parting Line & Mold Wall: Decide where the mold will split (the parting line). For the sci-fi rifle, this would likely be a top and bottom half. Use clay or foam to build a wall along this line.
- Applying Release Agent: This is a two-step, non-negotiable process.
- Step 1: Partitioning Agent (PVA): A polyvinyl alcohol film that is sprayed onto the plug. It forms a physical barrier that can be washed off the mold and part after demolding.
- Step 2: Semi-Permanent Release Wax: A high-quality mold release wax (like Tre Wax) is applied over the PVA. Apply 3-5 thin, buffed coats, allowing each to haze over. This combination is bulletproof.
- Gel Coat: This is the first layer applied to the plug, and it becomes the interior working surface of the mold. Use a tooling gel coat, which is specifically formulated to be tough, flexible, and heat-resistant. It is typically sprayed to a consistent thickness of 20-25 mils. This layer captures every detail of the plug’s finish.
- Structural Lamination (The “Backing”): Once the gel coat is tacky, the structural layers are applied.
- Lamination Schedule for a Medium-Sized Mold:
- Layer 1: 1.5 oz CSM. This bonds well to the gel coat and provides a good base for subsequent layers.
- Layer 2: 10 oz Cloth. Provides the primary tensile strength.
- Layer 3: 1.5 oz CSM. Creates a chemical bond for the next layer.
- Layer 4: 10 oz Cloth. Adds more strength.
- Technique: Cut your materials to shape beforehand. Mix resin in manageable batches. Use a brush to apply resin to the gel coat, then place the fiberglass. Use a laminating roller to firmly roll from the center outward, forcing out air bubbles and ensuring complete saturation. The sound should change from a soggy “squish” to a crisp “crunch” as air is expelled. Overlap seams by at least 1-2 inches.
- Stiffening: Mold Ribs & Jacket: A flat mold is weak. To prevent flexing, which causes warped parts, the mold must be stiffened.
- Ribs: Bond wooden or foam ribs to the back of the cured laminate using resin and more CSM. These run along the high points and edges.
- Jacket/Mother Mold: For complex shapes, a rigid outer shell or “jacket” is made from plaster, GRP (glass-reinforced plaster), or more fiberglass over the ribs. This holds the precise shape of the flexible mold.
- Demolding: The moment of truth. Carefully insert wedges or pry points along the parting line. Use compressed air to help break the seal if needed. The mold should release cleanly, revealing a perfect negative of your plug.
Phase 3: The Positive – Casting the Final Part
Now we use the mold to create the final object. The process is similar to making the mold, but now we are building the object “inside out.”
- Project Example: A Life-Size Animal Sculpture for a Theme Park. This part needs to be lightweight, rigid, and have a surface capable of holding intricate paint details. We will use a sandwich core construction.
- Process:
- Mold Preparation: Thoroughly clean the mold. Apply your two-step release system (wax and PVA) just as you did on the plug.
- Part Gel Coat (or Tooling Surface): For a sculpture that will be painted, you can skip a pigmented gel coat and instead apply a “tooling surface.” This is a layer of epoxy or a special surface coat (a mixture of resin and filler like microballoons) that is sanded smooth. This provides a perfect painting surface. If a color is desired (e.g., for a boat hull), a pigmented gel coat is sprayed first.
- Lamination Schedule for a Lightweight, Rigid Sculpture:
- Layer 1: 3/4 oz “Surfacing Veil” or 10 oz Cloth. This fine layer hides the fiber pattern and provides a good base.
- Layer 2: 10 oz Cloth. The primary structural skin.
- Core Application: Apply a thickened resin (epoxy mixed with a filler like colloidal silica) to the skin. Press pre-cut sheets of 1/2″ PVC foam core into the adhesive. Weight or vacuum-bag it to ensure full contact.
- Layer 3: 10 oz Cloth. Laminated directly over the core, bonding it to the first skin and creating the monolithic sandwich structure. This is immensely strong and stiff for its weight.
- Flanges and Joining: For a multi-part sculpture (like our animal), the edges of the part will have a flange. This is built up with additional layers of CSM and cloth to provide a strong bonding surface. Once all parts are cast, they are aligned and bonded together using a structural adhesive (like a methacrylate or epoxy paste) applied to the flanges.
Phase 4: The Art of the Finish – Post-Processing
The part is out of the mold, but it’s not finished. This is where the craftsman is separated from the amateur.
- Trimming: Use a jigsaw with a fine-tooth blade or an oscillating tool to carefully trim the excess fiberglass from the part edges (the flange lines).
- Filling and Fairing: Even the best laminates have minor pinholes or weave texture.
- Spot Putty: For tiny pinholes.
- Polyester or Epoxy Fairing Compound: Mix resin with a fairing filler (like microballoons, which are lightweight and easy to sand) to a mayonnaise consistency. Apply this over seams and low spots with a flexible spreader. The goal is to fill lows without building up highs.
- Sanding: The Long Road to Perfection.
- Step 1: Rough Shaping. Use a 60-80 grit on an angle grinder with a flap disc to knock down high spots and major fairing compound ridges.
- Step 2: Block Sanding. Switch to a longboard or flexible sanding block with 120, then 180 grit. This reveals highs and lows. Apply more fairing compound as needed. Repeat the cycle: fill, sand with 120, check, fill again. Efficiency Tip: Use a “guide coat”—a light spray of contrasting primer. When you block sand, the guide coat remains in the low spots, showing you exactly where to fill.
- Step 3: Finishing. Use a random orbital sander with 220, 320, and finally 400-500 grit to achieve a perfectly smooth, scratch-free surface ready for primer.
- Priming and Painting:
- Apply a high-build primer-surfacer. This will reveal the tiniest of imperfections you missed. Wet-sand with 400-600 grit.
- Repeat priming and sanding until the surface is flawless.
- Apply your final paint system: basecoats, clear coats, and airbrushed details. For props and sculptures, a high-quality automotive urethane paint system is often the professional choice for its durability and finish quality.
Part 4: Project-Specific Applications and Techniques
The core process remains, but the application changes based on the project’s demands.
- Project: Large-Scale Sculpture (e.g., a 10-foot Mythical Beast)
- Challenge: Weight, rigidity, and cost.
- Solution: The mold will be large and multi-part. The lamination will be a lightweight skin (2 layers of 10 oz cloth) over a core material, creating a rigid sandwich panel. The beast will be cast in manageable sections (head, torso, legs, tail) and assembled internally with a structural framework. A gel coat may be omitted in favor of a tooling surface to be painted after assembly.
- Project: Cosplay Armor Prop (e.g., Stormtrooper Armor)
- Challenge: Thin walls, fine detail, high volume.
- Solution: The mold is typically made from a high-quality master part. For efficiency in production, a chopper gun might be used (though hand-lamination is higher quality). The lamination is thin: often one layer of 1.5 oz CSM and one layer of 7.5 oz cloth. The edges are trimmed, and the parts are often left with a black-pigmented gel coat as the final finish, requiring minimal painting.
- Project: One-Off Prop with Integrated Electronics (e.g., a Glowing Arc Reactor)
- Challenge: Embedding components, heat management.
- Solution: The part is laminated as normal. Before closing the second half of the mold, components are potted (encased) in a clear, low-heat epoxy resin within a cavity designed into the part. This secures them and protects them from vibration. The laminate must be planned to provide mounting points and ventilation.
- Project: Direct Layup over a Substrate (e.g., Fiberglassing a Wooden Kayak or a Foam Sculpture)
- Challenge: Bonding to a permanent core.
- Solution: The substrate must be sealed and primed. For foam, it must be sealed with an epoxy barrier coat (polyester resin will melt styrofoam). The fiberglass is then laminated directly onto the sealed substrate. This is common for “lost foam” sculptures where the foam is carved, glassed, and then the foam is dissolved or melted out from the inside, leaving a hollow shell.
Part 5: Advanced Professional Techniques
- Vacuum Bagging: A plastic bag is placed over the wet laminate, and a vacuum pump pulls out the air. This applies immense, even pressure (atmospheric pressure, ~14.7 psi), forcing out excess resin and air bubbles, resulting in a higher fiber-to-resin ratio (lighter, stronger) and a perfect compaction. This is the gold standard for high-performance parts.
- Infusion: The dry fiberglass and core are placed in the mold and sealed under a bag. Resin is then drawn into the laminate via vacuum. This allows for perfect control of resin ratio and is the cleanest, most advanced method, producing the highest quality laminates.
Conclusion: The Synthesis of Craft
Fiberglassing, when approached with the rigor of a scientist and the hands of a craftsperson, ceases to be a mere technique and becomes a form of alchemy. It is the process of transforming loose fibers and liquid resin into objects of strength, beauty, and imagination. The path to efficiency is paved with knowledge: knowledge of your materials, respect for your tools, and an unwavering commitment to the process. There are no true shortcuts, only the intelligent, practiced application of fundamental principles. By internalizing the steps outlined here—from the flawless preparation of the plug to the final stroke of the polishing cloth—you equip yourself not just to make with fiberglass, but to create with it, producing work that is unambiguously professional, durable, and masterful.
