
Alchemy of Surfaces: Professional Guide to Faux and Decorative Finishes
A wall is never just a wall. A door is never just a door. In the hands of a skilled decorative artist, every surface is a canvas, a potential portal to another time, place, or reality. Faux finishing—the art of imitating materials and creating illusory depth and texture with paint—is one of the most transformative disciplines in the worlds of interior design, theatrical production, and themed entertainment. It is not merely painting; it is a form of alchemy, using specialized tools and techniques to transmute simple gypsum board and plaster into aged marble, weathered wood, supple leather, or gilded antiquity.
This guide is written from the viewpoint of a professional finisher, for those who seek to move beyond sponge-stippled accent walls and into the realm of master-level craftsmanship. We will dissect the meticulous processes, the specific materials, and the artistic philosophies required to create believable, beautiful, and durable finishes that can define a space. The goal is to provide a foundational mastery that enables the creation of everything from a single feature wall in a luxury home to an entire immersive, themed environment.
Part 1: The Philosophy – The Mindset of the Illusionist
Before a drop of glaze is mixed, the professional decorative painter adopts a specific mindset. Success is not accidental; it is engineered through observation, preparation, and a deep respect for the materials.
- The Prime Directive: Observation Over Imitation. The greatest faux artists are first and foremost students of the natural world. They do not just try to “paint wood.” They study how light grazes the growth rings of oak, how moisture darkens teak, how years of handling polish a pine handrail to a soft sheen. They understand that realism lies in the imperfections, the variations, the history written in the surface. Carry a camera; build a library of reference photos for stone, metal, and aged surfaces.
- The 80/20 Rule of Preparation. In decorative finishing, 80% of the result is determined by the preparation of the substrate and the base coat. A flawless faux marble finish applied over a lumpy, poorly sanded wall will always look cheap and unconvincing. The time invested in creating a perfectly smooth, sealed, and primed canvas is never wasted.
- Work in Layers, Think in Geology. No natural material is a single, flat color. Realism is achieved through the accumulation of translucent layers. A base color, a veining layer, a scumble or dirt layer, a highlight—each represents a different part of the material’s story. Patience and care between layers is essential to create a convincing replica of authentic surface you are recreating.
- The Tool is an Extension of the Hand. A professional understands that the tool used defines the mark made. The scratch of a rock comb creates limestone strata. The drag of a feather creates marble veins. The patina of a cheesecloth bundle creates the porosity of stone. Mastering the tool is as important as mastering the medium.
Part 2: The Arsenal – Tools and Materials of the Trade
A professional’s kit is a collection of specialized instruments, each chosen for its ability to create a specific effect.
- Surface Preparation & Base Coating
- Substrates: The surface to be transformed.
- Drywall: The most common canvas. Must be taped, mudded, and sanded to a Level 5 finish (perfectly smooth) for high-gloss or fine faux work.
- Plaster: An excellent, traditional substrate that can be shaped and textured before painting.
- Wood: Must be sanded, and knots must be sealed with a shellac-based primer to prevent “bleed-through.”
- MDF (Medium-Density Fiberboard): Provides a perfectly smooth, grainless surface for techniques like high-gloss lacquering.
- Primers:
- High-Hide Latex Primer: For general purpose sealing and uniform absorption on drywall and plaster.
- Pigmented Shellac Primer (e.g., BIN): The ultimate stain-blocker. Essential for sealing knots, preventing water stains, and priming over problematic surfaces.
- Bonding Primer: For slick, non-porous surfaces like glass, tile, or laminate, to which paint would not normally adhere.
- Base Paints:
- Latex Acrylic Wall Paint: The workhorse. Use a flat or matte sheen for the base coat, as it provides the best tooth for subsequent layers to adhere to.
- Universal Tints: Concentrated colorants used to tint both latex and acrylic glazes.
- The Glazing System: The Heart of Faux Finishing
A glaze is a transparent, slow-drying medium mixed with paint to create a workable, translucent wash. It is the primary vehicle for creating depth and dimension.
- Water-Based Glaze: The modern standard. It is low-odor, easy to clean up (with soap and water), and dries relatively quickly. It is user-friendly but requires a confident, efficient application.
- Oil-Based Glaze: The classic choice. It has a much longer “open time,” meaning it stays workable for hours, allowing for extensive blending and subtle effects. It requires mineral spirits for clean-up and has strong fumes, demanding excellent ventilation.
- Acrylic Glazing Liquid: A versatile medium that can be mixed with acrylic paints and artists’ mediums for highly controlled, fine-art-level finishes.
- Application Tools: The Mark Makers
- Brushes:
- Badger-Hair Blender: A soft, expensive brush used almost dry to softly blend and smooth glazes, eliminating brush strokes and creating seamless transitions. The secret weapon for marble and skies.
- Fitch Brushes: Stiff, natural-hair brushes ideal for dragging (creating fine striations) and graining.
- Fan Brushes: For veining, feathering, and creating organic, branching patterns.
- Aging Brushes: Worn-out, stiff-bristled brushes used for stippling and creating texture.
- Specialty Tools:
- Cheesecloth: The most versatile tool in the kit. Bunched, rolled, or stretched, it is used for lifting, stippling, texturing, and creating cloud-like effects.
- Sea Sponges (Natural & Synthetic): For applying and removing glaze to create mottled, porous textures like limestone or stippled color.
- Rock Combs & Graining Tools: For creating the specific grain patterns of wood or the stratified layers of stone.
- Feathers: For the most delicate, realistic marble veining.
- Plastic Wrap, Rags, Leather, and Cardboard: All can be crumbled, dragged, or pressed into glaze to create an infinite variety of organic textures.
- Topcoats: The Protector of the Illusion
Once the finish is perfect, it must be sealed and protected.
- Water-Based Polyurethane (Matte, Satin, Gloss): Clear, durable, and non-yellowing. The standard for protecting most interior faux finishes.
- Solvent-Based Polyurethane: Slightly more durable and amber in tone, which can be desirable for warming up wood-grain finishes.
- Lacquer (Pre- or Post-Catalyzed): Provides an incredibly hard, durable, and crystal-clear finish. Used on furniture and high-traffic areas. Requires professional-grade spray equipment and a respirator.
- Paste Wax: Applied over a sealed finish, it provides a soft, deep, hand-rubbed luster, ideal for aged furniture and Old World effects.
Part 3: The Master Processes – Techniques for Timeless Finishes
Here, we explore specific, professional-level techniques. The key to all of them is the “blot and lift” method with glaze: applying a translucent layer and then selectively removing it to reveal the base coat beneath, creating highlights and shadows.
- Faux Marble: The Pinnacle of Realism
Marble is not a pattern; it is a history of mineral flow under pressure.
- The Foundation: Start with a perfectly smooth, sealed, and primed wall. The base coat should be the dominant background color of the marble (e.g., off-white for Carrara, black for Nero Marquina).
- The Veining Layer: Mix a glaze with your veining color (e.g., a cool grey for white marble). Using a feather or a fine artist’s brush, drag veining lines through the glaze. Critical: Study reference photos. Veins branch, they terminate, they vary in thickness and opacity. They are not random squiggles. Use a badger blender to softly feather the edges of the veins so they appear within the stone, not on top of it.
- The “Bloom” or “Clouding”: Using a bunched cheesecloth, lightly dab and stipple the surface, lifting away some of the glaze to create the soft, cloudy, translucent background of the marble. This step creates immense depth.
- Highlighting and Mineral Deposits: Thinly drag a nearly dry brush with a lighter color along the top edges of some veins. Sparingly spatter a thin mix of umber and ochre to simulate mineral deposits.
- The Final Seal: Multiple coats of a water-based polyurethane in a satin or gloss sheen will replicate the polished stone surface.
- Wood Graining: The Art of Replication
The goal is to replicate the specific logic of a tree’s growth rings, not just a “woody” pattern.
- The Ground Coat: This is the color of the wood’s background, often a warm yellow-ochre for pine or a deeper umber for walnut.
- The Figure Coat (Glaze Layer): A darker, translucent glaze is applied over the entire area.
- Creating the Grain:
- Heart Grain: Using a rocker or graining tool, create the central, concentric patterns of the wood. The tool is rocked back and forth while being pulled down the surface.
- Straight Grain: Using a dry-bristled fitch brush or a dedicated graining tool, drag it through the glaze in long, straight(ish) lines, following the direction of the planks. Vary the pressure to create natural thick-and-thin lines.
- Knots and Defects: Use a small, crumpled piece of plastic wrap or a knotting tool to press into the glaze, creating the organic shapes of knots. Drag a little glaze out from the knot to simulate the grain distortion around it.
- Final Glazing and Protection: A final, thin scumble glaze (a dirty, translucent mix) can be dragged over the entire surface to unify the figure and add age. Seal with an appropriate topcoat.
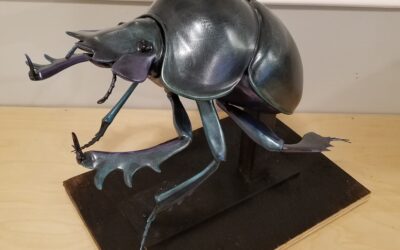
- Metallic Finishes & Verdigris
Creating the illusion of aged metal involves layering the bright metal effect with the corrosive patina.
- The Base: A dark, often black or deep umber, base coat is applied. This provides the shadow and depth for the metallic layer.
- The Metal Layer:
- Modern Method: Use a modern metallic paint (available in quarts/gallons) or a gilding size with composition metal leaf (for a true, reflective surface).
- Classic Method: Using a Japan-based metallic powder (bronze, copper) mixed with a slow-drying Japan-based medium. This is the traditional, highly toxic, but incredibly rich method.
- Applying the Patina (Verdigris): Mix a glaze with a blue-green paint (phthalocyanine blue and green). Work in small sections. Apply the glaze and immediately use a crumpled plastic bag or cheesecloth to dab and lift it away, leaving the color concentrated in the recesses and around rivets, simulating centuries of oxidation.
- Highlighting: Use a dry brush to lightly skim the highest points with the original metallic color or a brighter gold, making the piece look worn and handled.
- Sealing: A clear, non-yellowing topcoat is essential to prevent the metallic particles from tarnishing further and to lock in the patina.
- Trompe l’Oeil and Mural Work
This is the highest form of the craft—creating a pictorial illusion that “fools the eye.”
- The Cartoon: The line drawing is projected or gridded onto the wall. This is the blueprint.
- Under painting: The entire image is blocked in using flat, local colors, much like a digital painting. This establishes the color composition without detail.
- Modeling Form: Using a technique called grisaille (working in shades of grey) or by glazing, the artist builds up shadows and highlights to create the illusion of three-dimensional form. This is where a grasp of chiaroscuro (light and shadow) is critical.
- Detailing and Atmospheric Perspective: Fine details are added. Objects in the foreground have sharper edges and more saturated colors; objects in the background are softer, lighter, and less saturated, creating a sense of depth.
- Integrating with the Faux Finish: A trompe l’oeil element, like a carved stone plaque, must be painted onto a wall that has first been faux-finished to look like stone. The two techniques are inseparable.
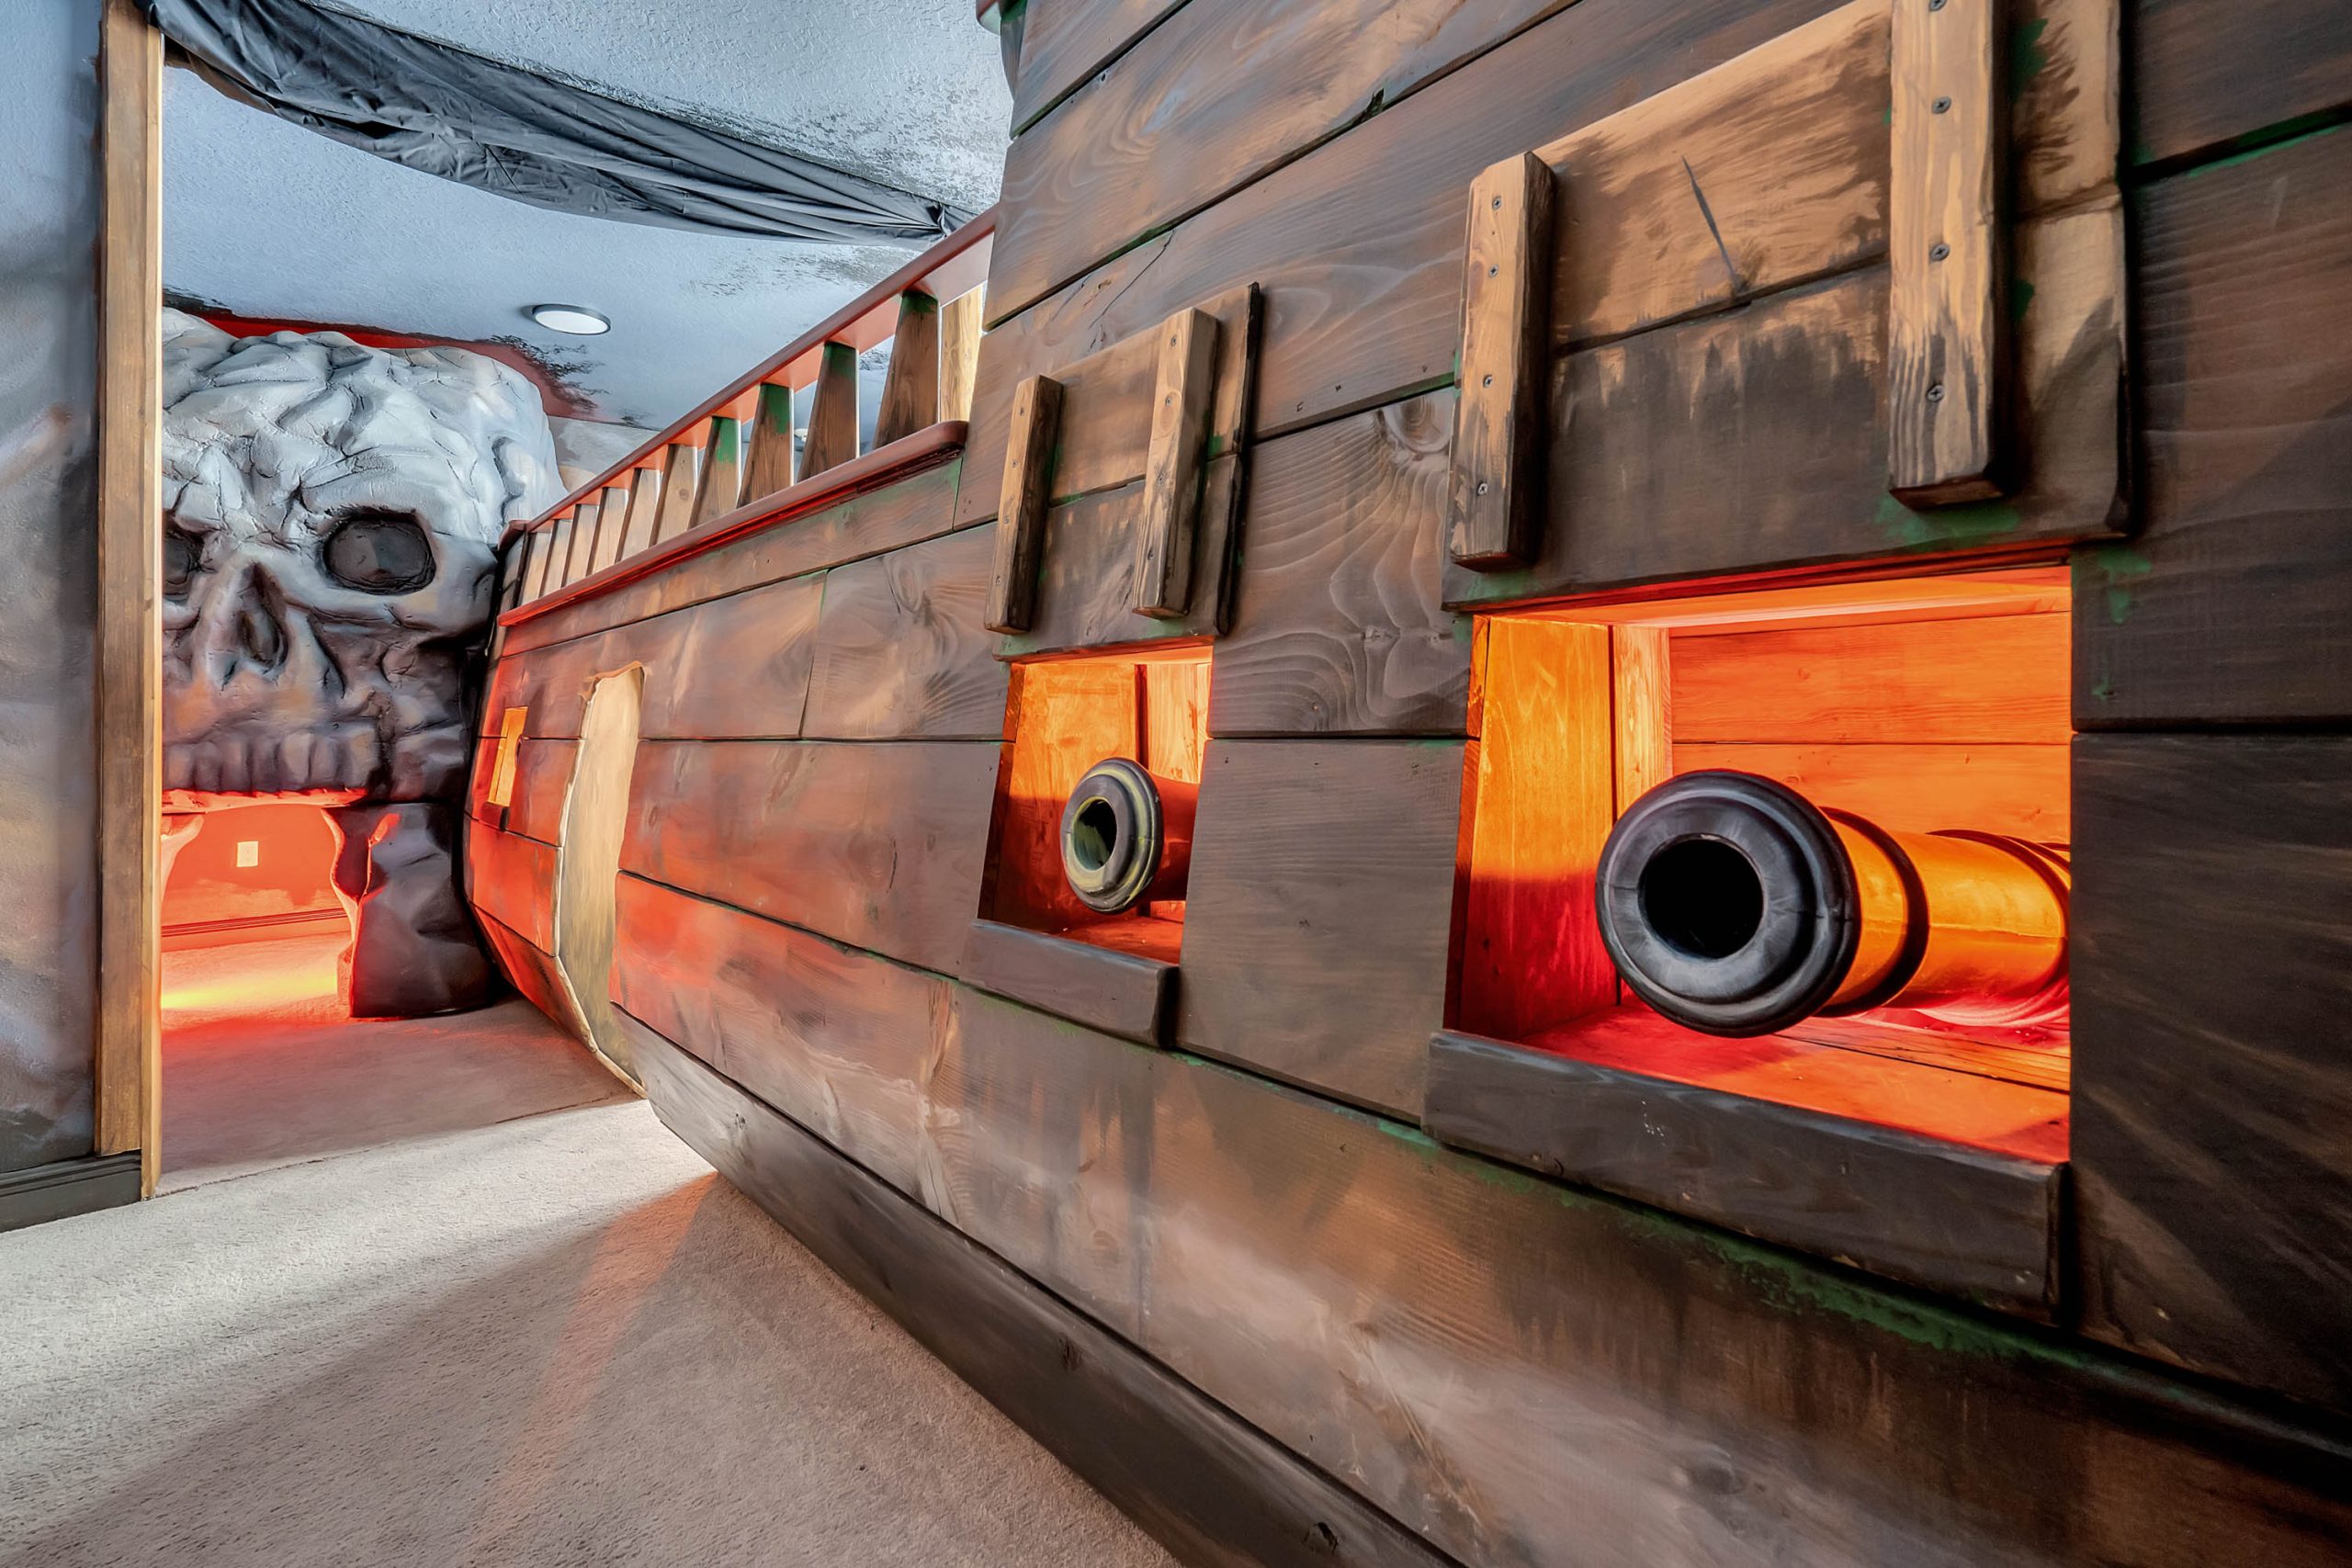
Part 4: Thematic Spaces – Painting a World
A professional doesn’t just paint walls; they create environments. Here’s how to approach different themes.
- The Medieval Great Hall (Stone & Aged Plaster):
- Walls: A base coat of a warm, dirty grey. A darker grey glaze is applied and then “lifted” with a sponge and cheesecloth to create the irregular texture of rough-cut stone. Mortar lines are scored into the wet glaze or painted on later with a lighter grey.
- Wood Beams: Use the wood graining technique over a dark ground, aiming for a rough-hewn, oak-like appearance. A dark glaze is then applied overall to simulate centuries of soot and grime.
- The “Damp” Effect: A very thin, translucent glaze of umber and green is streaked downward from the ceiling and in corners to simulate water damage.
- Art Deco Luxe (High-Gloss Lacquer & Metallics):
- Walls: The substrate must be flawless (Level 5 drywall). Apply multiple coats of a high-gloss, deep-tone lacquer (e.g., a rich navy or emerald) using a sprayer for a perfectly smooth, reflective surface.
- Accents: Use stencils or masking tape to create geometric patterns. Gild the raised patterns with silver or gold leaf.
- Furniture: Finishes are high-contrast, like a piano-black lacquer with polished chrome verdegris details.
- A Biotech Laboratory (Industrial & Sanitary):
- Walls: A base of a cool, sterile white or grey. Use a subtle dragging technique with a slightly darker grey to create the effect of brushed stainless steel or fiberglass-reinforced panels.
- Accents: Create the illusion of anodized aluminum accents by using metallic paints in bold colors like orange or blue, softened with a light scumble glaze to reduce their plastic look.
- Wear and Tear: Strategic “chip” marks revealing a primer color underneath, and dark scuff marks along corridors, sell the reality of a functioning, high-traffic facility.
Part 5: The Professional Workflow – From Concept to Completion
- Consultation and Sampling: The process begins with understanding the client’s vision and the architectural space. The professional creates large (2’x2′ at minimum), detailed sample boards on the actual substrate to be used. This avoids surprises and sets clear expectations.
- Surface Preparation: As outlined, this is the most critical phase. The professional crew repairs, sands, and primes all surfaces to perfection.
- Base Coating: The primary background colors are applied uniformly.
- The Faux Application: This is the execution phase, following the layered techniques. Work is done in logical sections (e.g., wall by wall) to maintain a “wet edge” and ensure consistency.
- The “Reveal” and Final Inspection: Once the final glaze layers are dry, the entire space is inspected under consistent lighting. Any minor inconsistencies are touched up.
- Top Coat: The protective topcoat is applied meticulously to ensure even sheen and protection without drips or sags.
- Curing and Handover: The client is informed of the cure time for the topcoats before furniture can be moved back and the space occupied.
Conclusion: The Language of Surface
Professional faux and decorative painting is a language. The tools are the vocabulary, the techniques are the grammar, and the finished space is the story. It is a discipline that demands the patience of a craftsman, the eye of a forger, and the soul of an artist. It is about understanding how light interacts with material and replicating that dance with pigment and glaze.
By internalizing the principles of observation, layered application, and meticulous preparation, you equip yourself to do more than just decorate. You learn to speak the language of aged stone, polished wood, and corroded metal. You gain the power to not just design a space, but to breathe a specific, tangible atmosphere into it, transforming the ordinary into the extraordinary and creating environments that resonate with history, luxury, and narrative depth.