
Artistic Contractors Secrets To Faux Stone and Rock Finishes
The most powerful magic in design is not the ability to create something from nothing, but to transform the ordinary into the extraordinary. It is the art of convincing the eye and the hand that plaster is aged marble, that foam is granite, that a flat wall is a craggy, ancient cliff face. This is the realm of the faux finish artist, a craftsperson who wields tools, pigments, and glazes not merely to decorate, but to deceive with breathtaking plausibility.
Faux finishing, particularly the simulation of stone and rock, is a discipline that sits at the intersection of painting, sculpture, and materials science. To do it correctly and efficiently is to move beyond simple sponge-painting techniques and into a world of systematic, layered processes. This guide is written from a professional viewpoint, for those seeking to create not just an effect, but an authentic, durable, and believable reality for projects ranging from themed entertainment and high-end interiors to film props and immersive art installations.
We will delve deep into the philosophy, materials, and meticulous processes required to make foam, wood, and drywall convincingly transform into limestone, granite, slate, and weathered river rock. The goal is not just to know what to do, but to understand why it works, enabling you to tackle any project with confidence and professional efficiency.
Part 1: The Foundation – Mindset and Observation
Before a single drop of paint is mixed, the professional faux artist engages in the most critical step: observation and planning. Efficiency is born from preparation, and authenticity is born from understanding.
- The Philosophy of Professional Faux Finishing
- Efficiency is Methodology, Not Speed: Rushing leads to repetition. A professional’s efficiency comes from a disciplined, step-by-step process where each layer is intentionally built upon the last. A meticulously executed base coat saves hours of correcting a poorly executed top coat.
- The Reference is King: You cannot replicate what you do not understand. Gather dozens of high-quality photographs of your target stone. Study it. What are its dominant colors? Its secondary tones? How does light hit the crystalline structures? How has weather and time affected its surface? Is it porous or dense? This research is non-negotiable.
- Work in Layers, Think in Geology: Real stone is not a single color. It is a history of mineral deposits, eons of pressure, and centuries of erosion. Your finish must replicate this history. A base color, a veining layer, a scumble glaze, a highlight—each represents a different chapter in the stone’s story.
- The “Touch” Test: The illusion is broken the moment someone feels a surface that looks like rough granite but is smooth to the touch. A perfect faux finish often requires complementary texturing. The integration of physical texture with painted color is what creates an unshakable illusion.
- Core Principles of Realism
- Color Variation: Monotony is the enemy of realism. Even a single slab of granite has a complex matrix of colors. Your palette must include a base color, one or two secondary colors, and accent colors for veins and flecks.
- Veining and Fracture Patterns: Study how veins form. They are not random squiggles. They follow geological pressures. They branch, they terminate, they vary in thickness and opacity. They are often a different texture than the surrounding stone.
- Surface Topography: Light interacts with stone based on its physical surface. High points are worn and light; low points are dark and collect dirt. Your painting must mimic this, with highlights on the “ridges” and shadows in the “valleys,” regardless of the actual substrate’s flatness.
- Patina and Age: Nothing in nature is pristine. Staining, water marks, lichen, moss, and soot are the fingerprints of time. Strategically applied, these elements sell the authenticity of the piece more than any other single factor.
Part 2: The Arsenal – Tools and Materials of the Illusionist
A professional uses a combination of standard and specialized tools. Having the right tool for the job is not a luxury; it is a requirement for efficiency and quality.
- Surface Preparation & Texturing Tools:
- Substrates: The surface you are transforming.
- EPS/XPS Foam (Expanded/Extruded Polystyrene): The holy grail for lightweight sculptures, props, and wall features. It can be carved with hot wire tools, knives, and abrasive tools. Must be sealed before painting, as solvents in many coatings will dissolve it.
- Drywall: For flat walls and architectural features.
- Wood: For structural props and panels.
- Plaster/Concrete: Often used as a coating itself to provide a hard, stone-like substrate.
- Texturing Tools:
- Trowels (Steel, Plastic, Rubber): For applying and shaping joint compound, plaster, or texture coatings.
- Brushes (Stipple, Scrubbing): For stippling wet compound to create a pitted, porous surface.
- Crumbled Plastic Wrap/Rags: Pressed into wet glaze or compound to create organic, rocky texture.
- Sea Sponges, Natural Sponges: For dabbing and stippling texture and color.
- Hot Wire Cutters & Foam Sculpting Tools: For carving foam into specific rock shapes.
- Sealing and Base Coating Materials:
- Sealers:
- PVA (Polyvinyl Acetate) Bond Coat: A standard, inexpensive sealer for drywall and plaster. Not suitable for foam.
- Latex Drywall Primer: A good all-purpose sealer for non-foam substrates.
- Pigmented Shellac (e.g., BIN): Excellent for sealing knots, stains, and for use on foam. It is solvent-based and creates a tough, isolated shell.
- Specialized Foam Coatings (e.g., Plaster Dip, Flexcoat): Water-based, elastomeric coatings designed specifically to seal and protect foam without damaging it. They can be built up to add texture.
- Base Paints:
- Latex Acrylic House Paint: The workhorse for large areas. Use a flat or matte sheen. Buy sample pots in your base colors for cost-effectiveness.
- Acrylic Craft Paints: For fine detailing, veining, and accent work.
- Masonry Paint: Provides a durable, thick coating that can have a stone-like texture built-in.
- Glazing and Finishing Materials:
- Glaze Medium: The transparent, slow-drying binder that is mixed with paint to create a wash. It allows for manipulation, blending, and the creation of depth.
- Water-Based Glaze: User-friendly, easy clean-up, low odor. The standard for most modern work.
- Oil-Based Glaze: Longer open time (drying time), allowing for more subtle blending. Requires mineral spirits for clean-up and has strong fumes.
- Stains & Washes: Highly diluted paint or ink used to settle into recesses and create depth. Can be acrylic, oil, or alcohol-based.
- Topcoats/Sealers:
- Water-Based Polyurethane (Matte/Satin): Clear, durable, and non-yellowing. Protects the finish from UV and wear.
- Solvent-Based Polyurethane: Slightly more durable than water-based, but can amber over time, which can be desirable for warm stone tones.
- Paste Wax: Can be used alone or over a polyurethane coat to add a soft, deep luster, ideal for polished stone effects.
- Application Tools:
- Brushes: A variety of sizes and shapes: flats, rounds, fans (for veining), and badger-hair blenders (for softening).
- Rollers (Nap, Foam): For applying base coats and texture.
- Sprayers (HVLP – High Volume Low Pressure): For ultra-fast base coating, fine mists, and large-scale projects. Essential for professional efficiency on big jobs.
- Cheesecloth, Rags, Plastic Bags: The primary tools for lifting, wiping, and texturing glaze.
- Feathers: For creating the finest, most delicate veins in marble.
- Airbrush: For the highest level of detail, subtle color transitions, and atmospheric staining.
Part 3: The Process – A Master Class in Faux Stone
The following is a layered process that can be adapted for almost any stone effect. We will use a carved foam wall as our primary example.
Phase 1: Substrate Preparation & Texturing – Building the Bones
The physical texture is 50% of the illusion. A perfectly painted flat surface will never truly look like rough stone.
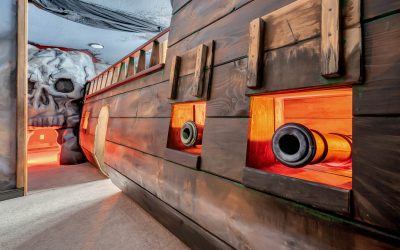
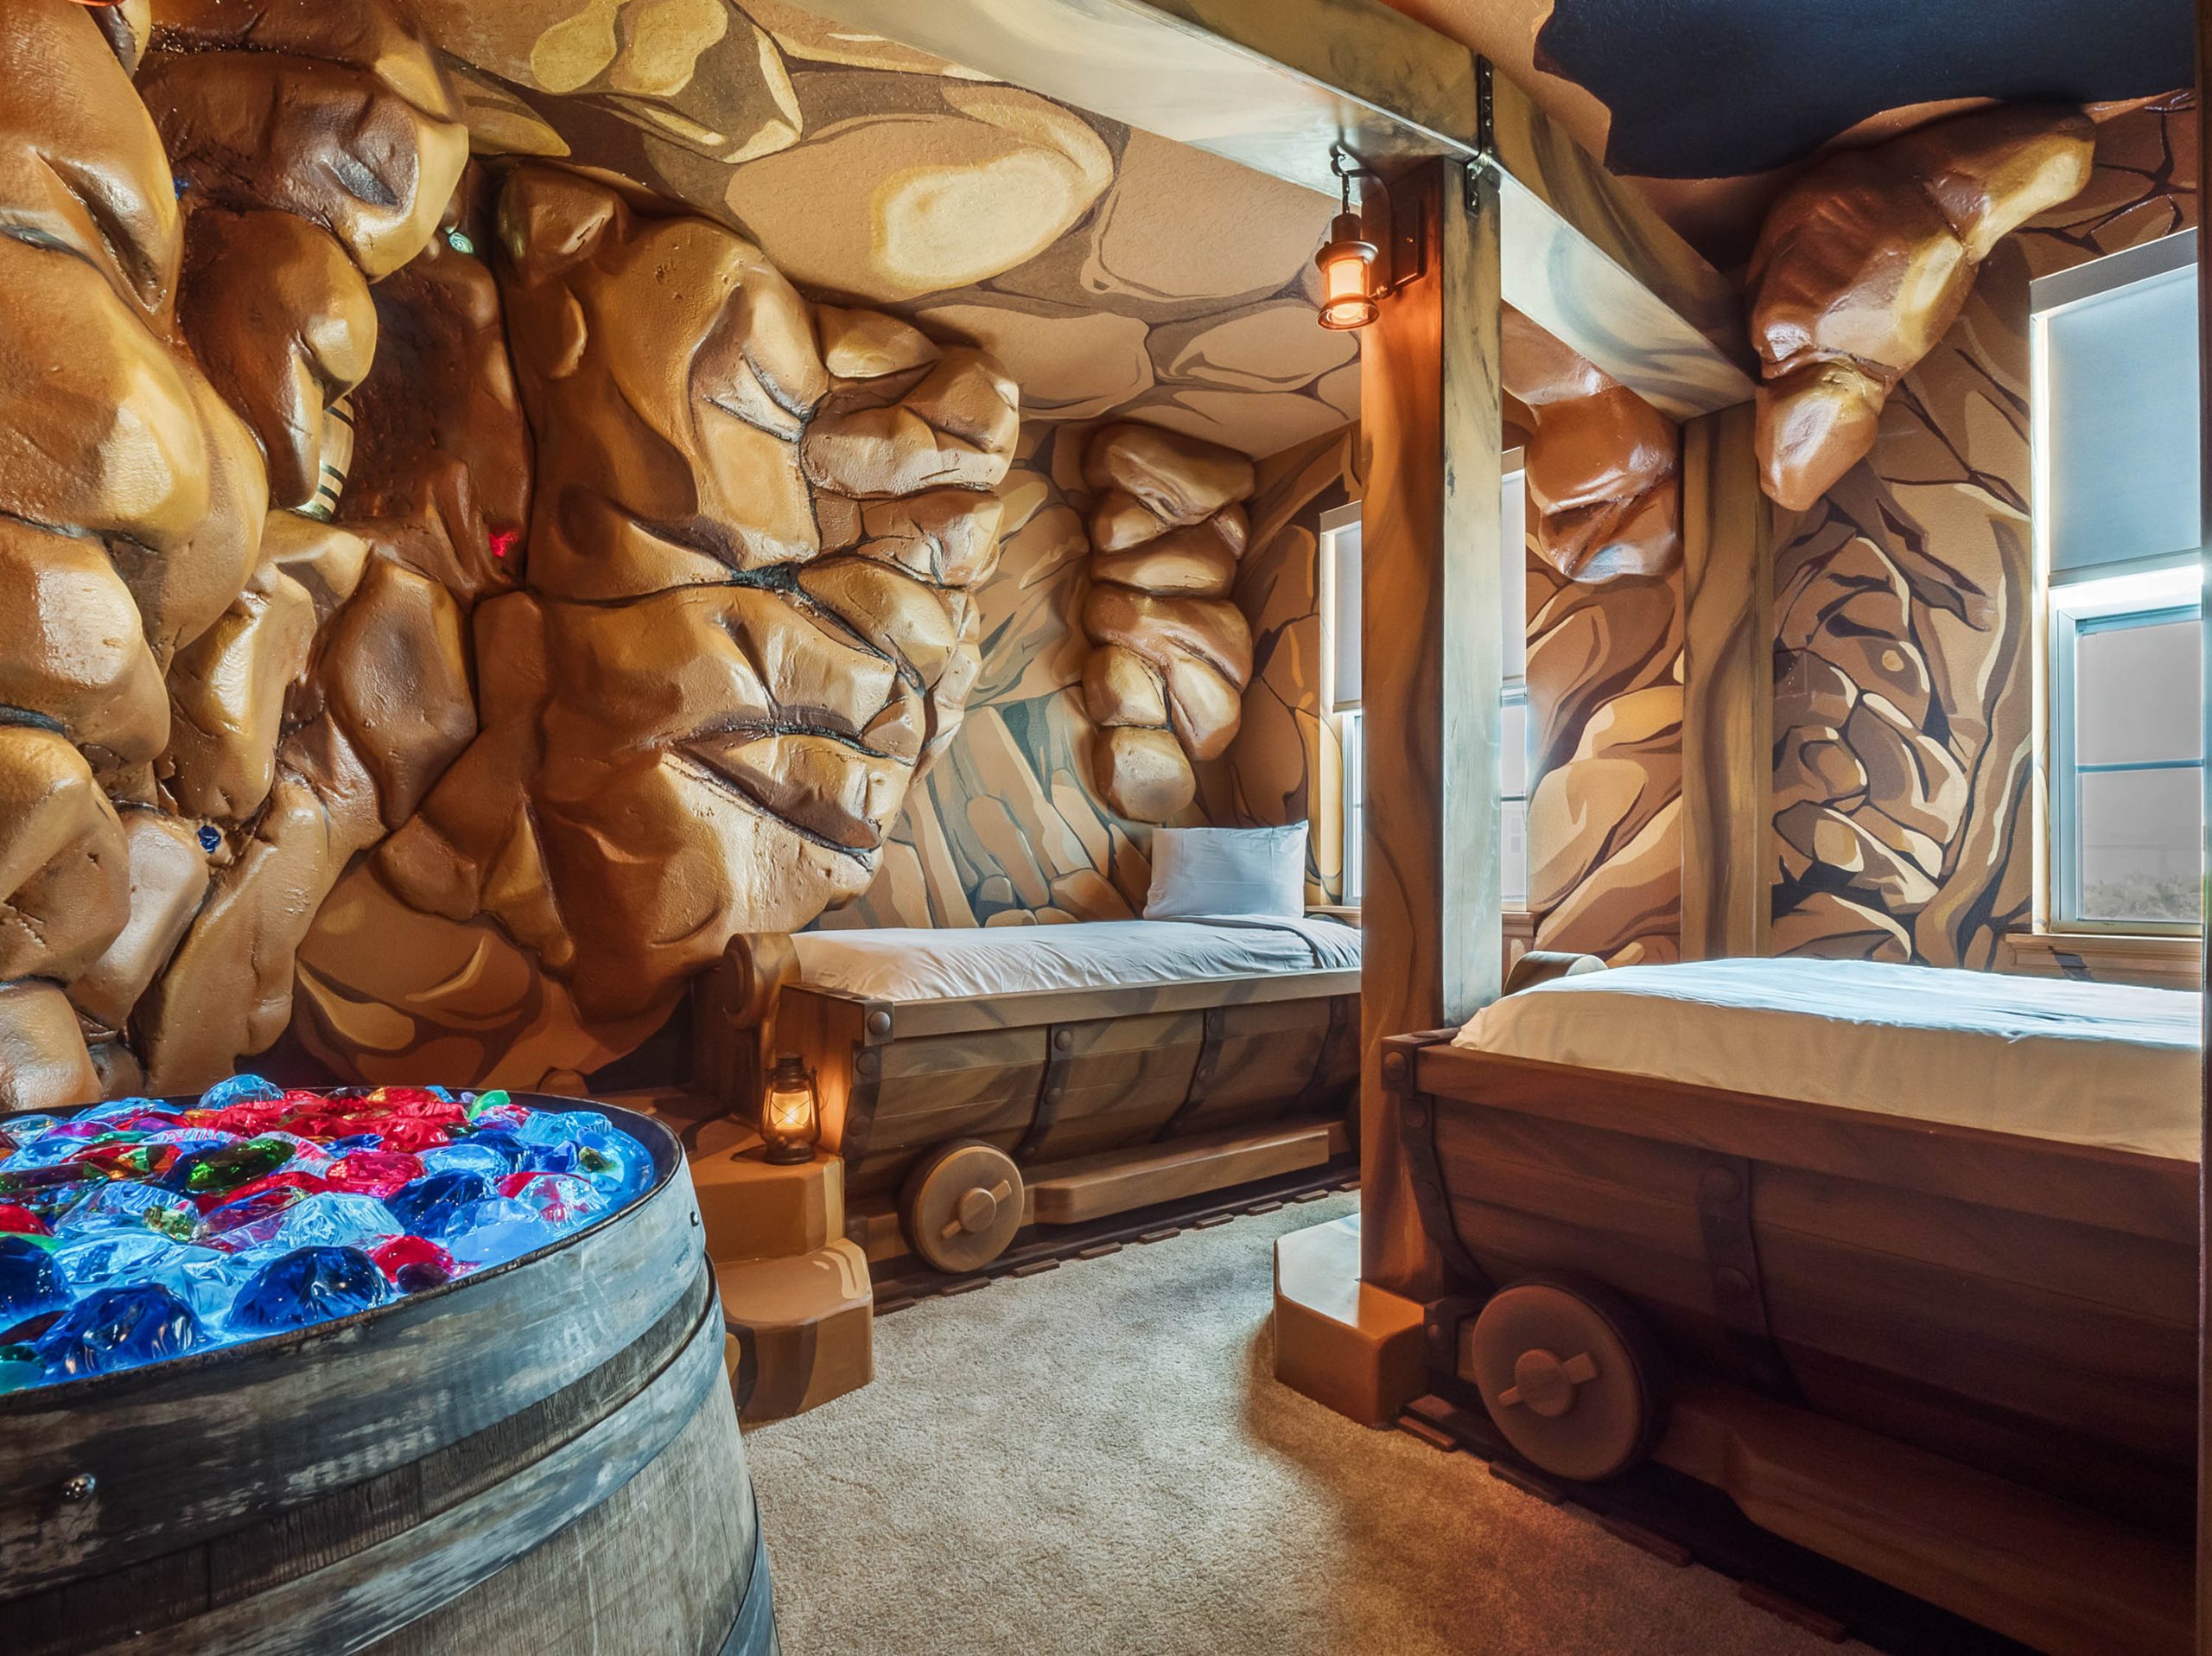
- Project Example: A Themed Restaurant “Dungeon” Wall.
- Substrate: Panels of 2″ thick XPS foam, attached to the wall.
- Process:
- Carving: Using a hot wire cutter, knives, and even a ball of crumpled aluminum foil to scrape and abrade the surface, carve the foam to resemble rough-hewn stone blocks or natural bedrock. Create deep recesses, sharp ridges, and varied planes. Efficiency Tip: Work in sections no larger than 4’x8′ on a table for comfort and control before installing.
- Sealing (CRITICAL for Foam): Apply a coat of pigmented shellac or a specialized flexible foam coating. This seals the foam’s pores and protects it from the solvents in subsequent coatings. Apply at least two coats, ensuring every nook and cranny is covered. Let it dry completely. This creates a hard, paintable shell.
Phase 2: The Base Coat – Establishing the Foundation Color
This is not just one color. This is the establishment of your primary color matrix.
- The “Dirty” Base Coat: Mix your primary stone color (e.g., a gray for granite, a beige for limestone). However, do not use it straight from the can. Pour several gallons into a large bucket. Now, add small amounts of your secondary colors (e.g., a dark brown, a green, a rust red). Mix only slightly—you do not want a homogenous new color, but a “dirty,” variegated mixture.
- Application: Use a coarse-nap roller or a HVLP sprayer to apply this base coat erratically. Do not aim for perfect, even coverage. Let some of the primer show through in spots, let other areas be darker. The goal is a mottled, uneven foundation. This initial variation provides a subconscious depth that you will build upon.
Phase 3: The Glaze Layer – Introducing Depth and Movement
This is where the stone comes to life. The glaze layer will settle into the low points and be wiped from the high points, instantly creating topographic shading.
- Mix Your Glaze: In a tray, mix one part of your shadow color (a dark brown, black, or deep version of your base) with four parts water-based glaze medium. The consistency should be like thin cream.
- Application and Manipulation (The “Blot and Lift”):
- Using a large brush or a sponge, apply the glaze mixture liberally over a manageable section (e.g., 4’x4′).
- Immediately, take a bundle of cheesecloth or a crumpled plastic bag and begin to dab and wipe the surface. Your goal is to remove the glaze from the high points and leave it in the low points and crevices.
- Work in an organic, random pattern. Do not create obvious lines or patterns. The cheesecloth will leave a beautiful, stippled texture that mimics natural stone porosity.
- Use a dry, soft-bristled brush to gently blend any hard edges.
- Professional Insight: Step back frequently. Look at the wall under the same lighting conditions it will be viewed in. The contrast should be strong but natural. This single step, done correctly, does more to create realism than any other.
Phase 4: Veining and Mineral Deposits – The Signature of the Stone
Now we add the character that defines the specific type of stone.
- For Granite/Slate: You are creating a “speckled” matrix.
- Method 1 (The Spatter Technique): Thin your accent colors (black, white, rust, mineral blue) with water to an ink-like consistency. Load an old toothbrush or a stiff, short-bristled brush. Pull a putty knife across the bristles towards you, spattering the surface with fine dots. Vary the colors and the density. Practice on cardboard first. This creates the classic granite flecking.
- Method 2 (Sponge Dab): For larger flecks, load a sea sponge lightly with paint and dab it randomly over the surface.
- For Marble/Limestone: You are creating flowing, organic veins.
- The “Feather” Method: On a still-tacky glaze layer, use a fan brush or a actual feather to drag lines of a contrasting color (e.g., white on gray, rust on beige). The tacky glaze will softly blend the edges of the vein, making it look like it is within the stone, not on top of it.
- The “Water Drop” Method: Paint a vein. While still wet, spray it lightly with water from a misting bottle and tilt the surface. The water will cause the paint to run in a natural, eroded pattern.
Phase 5: Highlighting – The Kiss of Light
This step makes the texture “pop” and guides the eye.
- Dry Brushing: This is a classic model-making technique. Dip a wide, flat, dry brush into a light version of your base color (almost white). Wipe almost all of it off on a paper towel. Then, lightly drag the brush only across the very highest ridges and textures of your surface. The paint will catch only on the peaks, simulating the way light naturally grazes a rough surface.
- Airbrushing: For the most professional and subtle highlights, an airbrush is unmatched. It can lay down a whisper-thin mist of white or light beige over the high points, creating a seamless, atmospheric effect that is impossible to achieve with a brush.
Phase 6: The Patina of Age – Telling a Story
A new stone wall is one thing. an ancient one is another. This is where you sell the history.
- Water Staining: Mix a transparent brown or greenish glaze and streak it from cracks and downward from ledges, mimicking centuries of water runoff.
- Lichen and Moss: Use a sponge to dab on mixtures of green, yellow, and white in shaded, damp areas of the wall. Keep it subtle and clustered.
- Soot and Dirt: Airbrush or dry-brush a very dark gray or black around “torch” sconces or in upper corners.
Phase 7: The Final Seal – Protecting the Illusion
Once you are completely satisfied, the entire surface must be protected. Apply 2-3 coats of a clear, matte water-based polyurethane with a sprayer or a soft roller. This will lock in your work, protect it from physical damage, and UV light, and unify the sheen across all the different paints and glazes, giving it the consistent feel of a single, solid material.
Part 4: Project-Specific Applications and Methods
The core process adapts to the project’s scale and purpose.
- Project: Entire Themed Room (e.g., an Egyptian Tomb)
- Challenge: Scale, consistency, and speed.
- Solution: Teams work in assembly-line fashion. One crew textures, the next seals, a spray crew applies the dirty base coat. The head artist then leads the glazing team, working wall-by-wall to ensure color and shadow consistency. HVLP sprayers and airbrushes are used for all major steps. The focus is on creating a cohesive environment, not on perfecting every square inch.
- Project: Themed Props & Sculptures (e.g., a Stone Gargoyle)
- Challenge: Three-dimensional form, complex shadows.
- Solution: The carving is even more critical. The painting process remains the same, but you must constantly rotate the piece, ensuring that glaze shadows follow a consistent, imagined light source. Dry-brushing is used extensively to define scales, feathers, and facial features. The patina (water stains, moss) is placed strategically to enhance the sculpture’s narrative (e.g., moss on the north-facing side, water stains from the eyes).
- Project: High-End Interior Feature Wall (e.g., Faux Marble Panels)
- Challenge: Achieving a smooth, polished, luxurious look.
- Solution:
- Substrate: Smooth MDF or drywall, skim-coated with joint compound to a glass-like finish.
- Process: The base coat is a perfect, smooth application of the background color. Glazes are applied in thin, overlapping layers and blended with badger-hair softeners or a moist sponge to create the soft, cloudy veining of marble. No physical texture is added. The final step is a high-gloss polyurethane or paste wax buffed to a mirror shine, replicating a polished stone surface.
- Project: Film & Theater Props (e.g., a Lightweight “Stone” Artifact)
- Challenge: Durability for handling, and looking authentic on camera under high-definition scrutiny.
- Solution: The object is often cast in urethane resin. The painting process involves extensive use of airbrushing for subtle color shifts and washes of highly transparent acrylic inks to build up deep, believable color. The “touch” texture is part of the casting mold. The finish must withstand close-ups, so every vein, fleck, and stain is meticulously placed and sealed.
Part 5: Advanced Professional Techniques
- The Scumbling Technique: Using a nearly dry brush or a crumpled rag to scrub a light, opaque color over a darker base. This creates a broken, chalky effect perfect for limestone or travertine.
- Acid Staining (on Concrete/Plaster): While not a paint technique, using real acid stains on a concrete overlay is the ultimate faux finish, because it is real. The chemical reaction with the lime in concrete creates permanent, variegated, mineral-toned effects that are impossible to replicate with paint alone.
- Venetian Plaster: A centuries-old technique using slaked lime and marble dust. It is troweled on in thin, multiple layers and burnished to a high sheen. It is not a paint simulation but the creation of a real stone-like surface, offering unparalleled depth and tactile quality for marble and limestone effects.
Conclusion: The Synthesis of Art and Craft
The professional faux finish artist is more than a painter; they are an illusionist, a geologist, and a historian. They understand that the convincing portrayal of stone is a systematic deconstruction of nature’s processes, rebuilt layer by layer with intentionality and skill. The journey from a blank sheet of foam to a convincing, ancient stone wall is one of the most rewarding processes in the decorative arts.
It demands patience, a keen eye, and a respect for the methodology. There are no true shortcuts, only the intelligent application of fundamental principles. By mastering the sequence of seal, base, glaze, vein, highlight, and patina, you equip yourself to not just mimic stone, but to breathe the story of stone into any surface, for any project, with the unwavering confidence of a professional. The wall is no longer foam; it is a testament to your craft.